
Last Updated on March 4, 2026
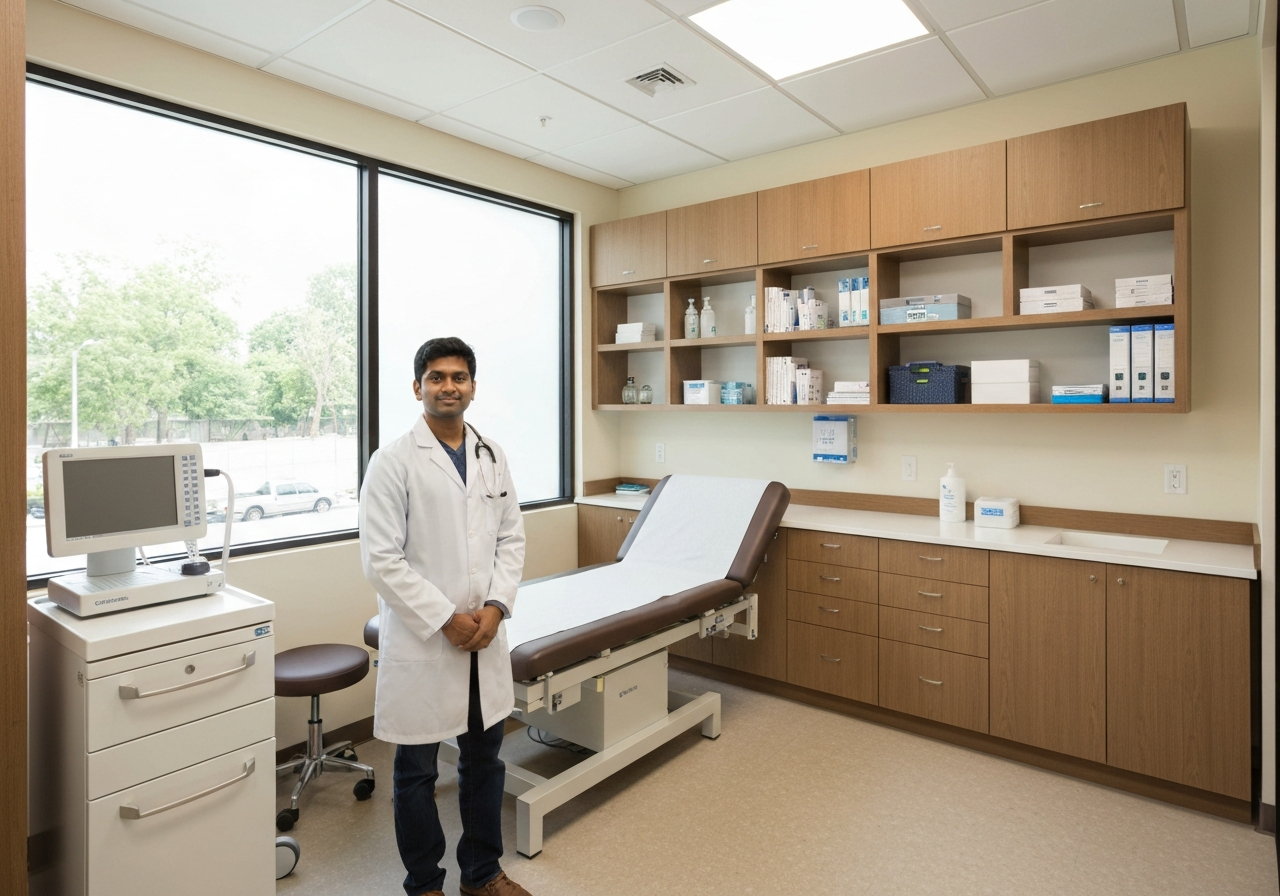
As a Periodontist deeply invested in the health and smiles of our community here in Northridge and the surrounding San Fernando Valley, I understand that excellence isn’t just about surgical precision—it is about the environment in which we treat our patients. When I first looked at upgrading my practice, the road ahead seemed foggy. I knew I needed a space that reflected the quality of care I provide, specifically for dental implants and periodontal therapies. But, like many of you, I asked myself: How long is this actually going to take?
Planning a renovation? Learn the standard medical office remodel timeline so you can prepare your practice for construction. Whether you are specializing in gum grafts, cosmetic periodontal surgery, or general dentistry, understanding the clockwork of a remodel is crucial to maintaining your practice’s workflow and revenue.
Below, I am going to walk you through a realistic timeline based on professional standards and local experiences here in California. This isn’t just about dry construction dates; it is about how we, as medical professionals, can navigate this journey to build a world-class facility.
Contents
- Phase 1: Vision, Discovery, and Feasibility (Weeks 1-4)
- Phase 2: Design and Architecture (Weeks 4-12)
- Phase 3: The Permit Process (The Variable: Weeks 8-16+)
- Phase 4: Construction and Build-Out (Weeks 12-24)
- Visualizing the Timeline
- Phase 5: Inspections, Closeout, and Branding (Weeks 2-4 Post-Construction)
- Navigating Challenges in Northridge Renovations
- Why This Effort is Worth It
Phase 1: Vision, Discovery, and Feasibility (Weeks 1-4)
Before a single hammer swings, the success of your new periodontal office is determined on paper. For me, this phase was about introspection. I had to evaluate my current patient flow in Northridge and decide where I wanted to be in ten years.
During this first month, you aren’t just looking at paint colors. You are looking at the “bones” of the project. You need to assemble your dream team. This usually includes a specialized contractor (like the team at LuxDevLA), an architect familiar with medical codes, and an interior designer who understands the psychology of a dental patient.
Key Activities in Phase 1:
- Site Assessment: checking existing plumbing and electrical capacity for surgical equipment.
- Budget Definition: Establishing a financial comfort zone that includes a contingency fund.
- Team Selection: Interviewing contractors who specialize in medical build-outs.
Data Point: According to industry construction data, spending sufficient time in the pre-planning phase can reduce total project costs by up to 20% by preventing change orders later in the process.
Phase 2: Design and Architecture (Weeks 4-12)
This is where the magic happens. As a Periodontist, I look at X-rays to plan surgeries; architects look at blueprints to plan buildings. This phase is collaborative. You will sit down with your design team to map out the patient journey from the waiting room to the recovery area.
In Northridge, space can sometimes be at a premium, so efficiency is key. We have to ensure that our sterilization centers meet OSHA standards and that our operatories are spacious enough for sedation equipment and assistants. This process involves creating floor plans, selecting finishes (flooring, cabinetry, lighting), and finalizing the layout.
It is important to note that changes made here are cheap (paper is cheap). Changes made later are expensive (drywall and plumbing are not). We also need to focus heavily on HIPAA compliance and ADA accessibility to ensure every patient in our community feels welcome.
Local Tip for Northridge Specialists
Always consider the parking situation and building access. If you are in a multi-story medical building in the Valley, your timeline might need to account for elevator reservations and after-hours work restrictions imposed by property management.
Phase 3: The Permit Process (The Variable: Weeks 8-16+)
If there is one thing that tests patience, it is the permitting process. In Los Angeles and specifically the Northridge area, obtaining city permits can be the biggest bottleneck. This runs somewhat concurrently with the end of the design phase.
Your architect and contractor will submit the detailed plans to the city building department. The city reviews them for structural safety, fire codes, electrical load, and plumbing.
Why does this take so long? The city often comes back with “plan check corrections.” These are questions or demands for changes. Your team has to address them and resubmit. It is a back-and-forth tennis match. While we cannot control the city’s speed, hiring a contractor who knows the local inspectors and codes can help smooth out the bumps.
For more insights on the specific requirements for dental office design which influence these permits, you can reference the American Dental Association’s guidelines on Office Design. Their standards are high, and adhering to them helps speed up approval.
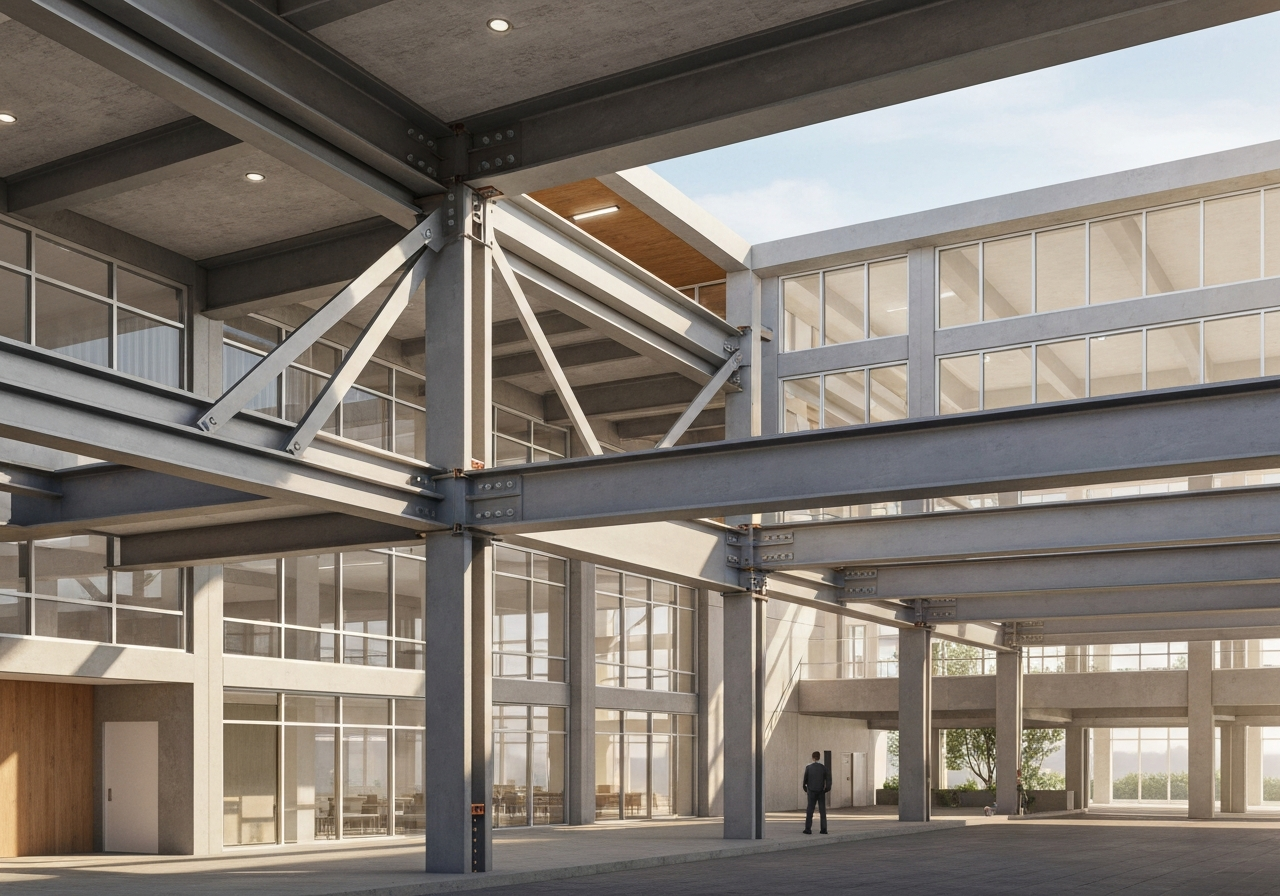
Phase 4: Construction and Build-Out (Weeks 12-24)
Once the permit is in hand, the real noise begins. This is the most exciting and visible part of the timeline. For a standard 2,000 to 3,000 square foot periodontal office, the actual construction usually takes about 3 to 5 months, depending on the complexity of the finishes.
The Construction Stages
1. Demolition and Framing (Weeks 1-4):
The crew clears the space. Walls are framed out. You finally see the physical shape of your new surgical suites. It looks messy, but it is progress.
2. Rough-Ins (Weeks 5-10):
This is critical for us as dentists. The “guts” of the office are installed. This includes the complex plumbing for nitrous oxide, vacuum lines, water lines, and the extensive electrical wiring needed for digital imaging and laser equipment.
3. Drywall and Finishes (Weeks 11-18):
Walls are closed up, painted, and flooring goes down. Cabinetry—the heart of the operatory—is installed. This is when the office starts to look like the 3D renderings you saw months ago.
4. Equipment Installation (Weeks 19-22):
Your dental chairs, X-ray arms, and sterilization units are delivered and hooked up. This requires coordination between the general contractor and your dental supply representative.
Data Point: A study on commercial renovations indicates that medical office projects involving specialized equipment (like dental chairs) take approximately 15% longer than standard office renovations due to the complexity of MEP (Mechanical, Electrical, Plumbing) coordination.
Visualizing the Timeline
To help you visualize how these phases overlap, I have put together a simple chart representing a typical renovation project for a specialist like us.
Standard Medical Office Remodel Timeline
Phase 5: Inspections, Closeout, and Branding (Weeks 2-4 Post-Construction)
The dust has settled, but we aren’t quite open for business yet. Before I could perform my first implant procedure in the new suite, we needed final sign-offs. The city inspectors return to check the electrical, fire safety, and plumbing systems. Once they sign off, you get your Certificate of Occupancy.
This is also the phase where the “branding” comes to life. As I focused on establishing myself as a premier Perio Dentist in Northridge, the finishing touches mattered. The signage, the texture of the waiting room chairs, the artwork—everything communicates “trust” to the patient. We do a final walkthrough with the contractor to spot any scuff marks or loose handles (the “punch list”) and get them fixed immediately.
Every location has its quirks. In our area, we often deal with older buildings that have “legacy” infrastructure. Sometimes, we open a wall and find plumbing that hasn’t been updated since the 1980s. This is why that contingency budget I mentioned earlier is vital.
Furthermore, noise control is a major factor if you are renovating in a building with other active medical practices. We had to schedule the loudest demolition work early in the morning or on weekends to avoid disturbing our neighbors—a courtesy that pays off in good professional relationships.
Why This Effort is Worth It
Looking back at the timeline, 6 to 9 months might seem like a long time. However, the result is a practice that works for you. A well-designed periodontal office increases efficiency, boosts staff morale, and most importantly, puts patients at ease the moment they walk through the door.
When you specialize in complex procedures like gum grafting or implants, the environment must scream “competence” and “cleanliness.” A renovation is the most direct way to achieve that.
By understanding this timeline, you can plan your patient schedule, arrange for temporary financing, and manage your stress levels. You are building the future of your practice, and with the right planning and the right team, the process can be incredibly rewarding. If you are in the Northridge area and looking to elevate your workspace, knowing what to expect is half the battle won.


